

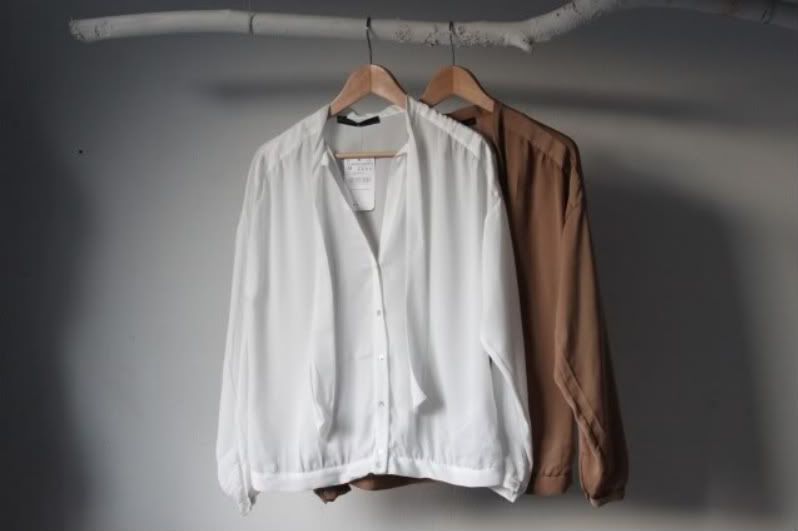
Instructions:
Needed
-Two shirts of the same size (I used two from Zara)
-scissors
-a few pins
-sewing machine/needle and thread
step one.
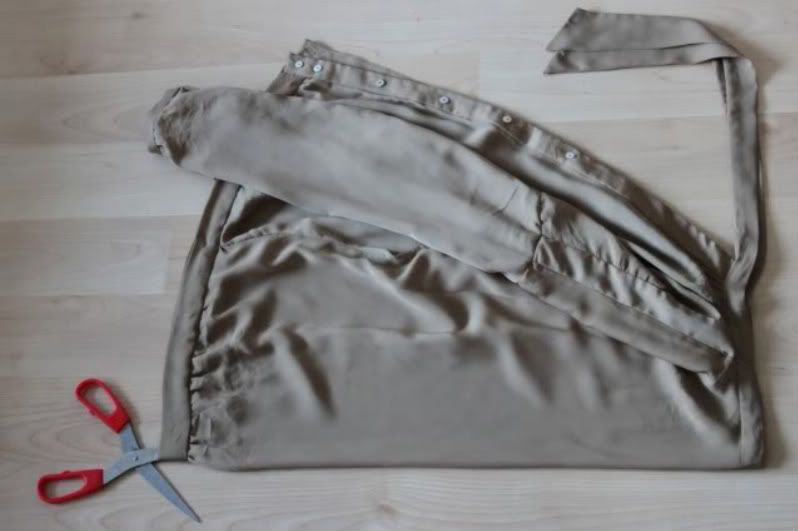
Cut both shirts in half. An easy way to do this is laying the shirts flat on the ground and aligning the side seems. Pin the seams together at the top and at the bottom of the shirt. The fold that is created should be the exact middle. What you could do to make sure you cut straight is ironing the fold before cutting the shirt in half.
step two.
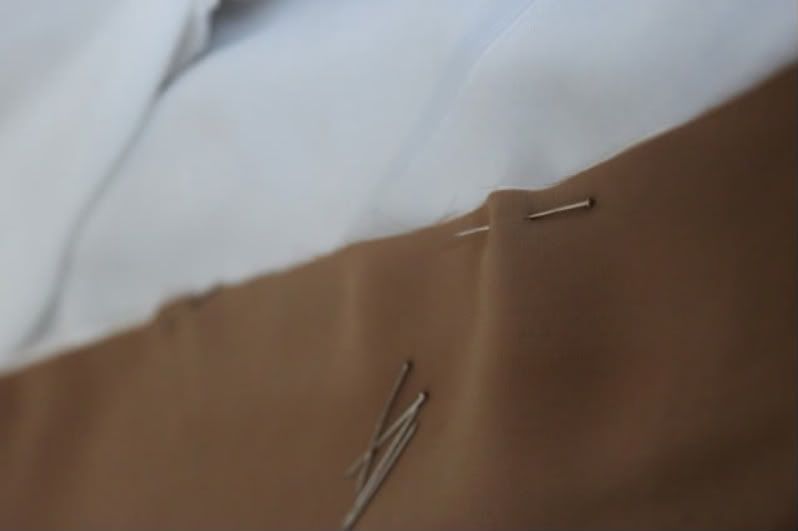
Pin two halves of the different colors together. It is important that the top and the bottom align perfectly. Cheaper shirts aren't made flawlessly, the shirts I bought differed slightly although they were the same size. The white shirt was 2 cm larger than the tan one. The solution was to make a tiny pleat at the bottom.
step three.
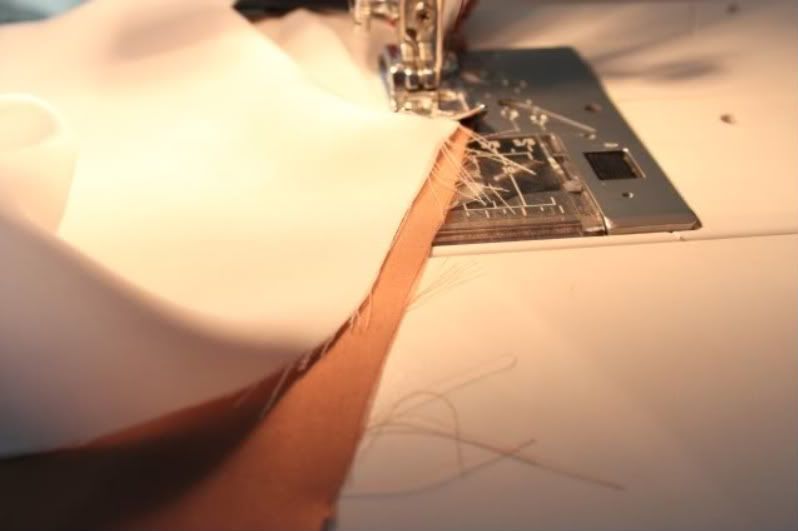
Sew together the four halves.
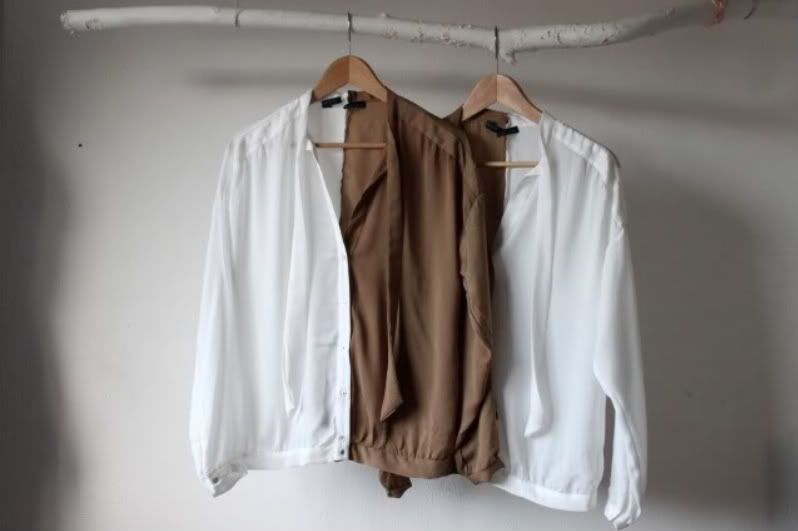
step four.
Voila now you have a pair of two tone shirts!
I gave one of them to a good friend who I've missed a lot since both our schools started in September and we haven't been able to see each other much.
How adorable is it that this is like the shirt version of a BFF- necklace!? Although with these ones it would look ridiculous to wear together. So when you're giving away the other halves of your shirts don't forget to make arrangements about when (not) to wear them!