Showing posts with label accessories. Show all posts

Monday, May 7, 2012

ACCESORIES | Meow!

Photobucket

Photobucket
sunglasses: Asos
lipstick: Yves Saint Laurent Rouge Volupté number 27


The mail brought me this no fuss pair of black cat eye sunglasses today. Just in time to still catch a few of hours of sun!

ACCESSORIES | Industrial Bracelets

Photobucket

Photobucket

I came accross these fantastic industrial yet refined looking clasp bracelets designed by stylist and designer Andrea Lieberman for her label ALC.
And fell in love with the hinged bar details and the screw closure on the fat gold one.
Find them here: rose gold & gold

DIY | All Purpose Leather Net Bag

Photobucket

Photobucket

online gif creator                      Photobucket


Photobucket

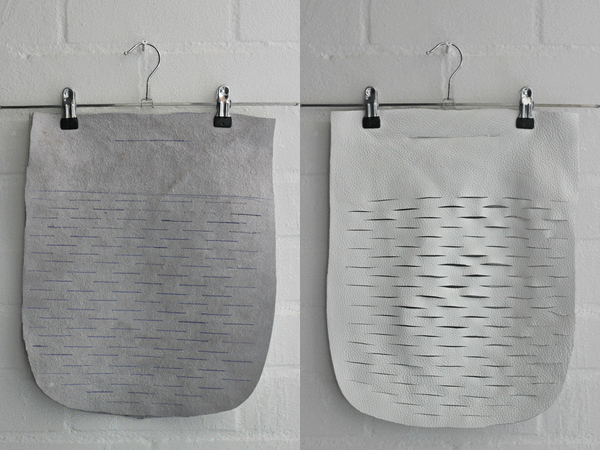
Every month I make a DIY post for Nsmbl.nl, a relatively new independant online magazine from The Netherlands who has grown to become one of the biggest of the country in under a year. If you ask me it´s becasue of their great eye for content and the dedication of their founder Anna Nooshin. For April I made this leather purse/ groceries net bag/ clutch when folded. The images are pretty self explanatory, but if you want to read the full tutorial(with a little help of google translator) click here.

ACCESORIES | Rectangle Earrings

Photobucket

Photobucket

synthetic reflective shirt: thrifted

These rectangular earrings were a gift from my boyfriend who brought them from his trip to Indonesia. He actually came up with the design himself, made a drawing and had them made by a local goldsmith, which makes them even more special. He was right on spot about what I like; no fuss metal rectangles! Thank you Romeo!(yes, that's his actual name)

ACCESORIES | Mirror Heeled Sandals, Black Details

Photobucket


shoes:Topshop
clutch: vintage
camera: vintage
sunglasses:Asos

Every week I write a feature on the fashion website of newspaper Metro. It is called Detail Donderdag (Detail Thursday) and as you may have already guessed, it's about the details and finishing touches. The shoes, the socks, the bag, the jewelry, the nailpolish. Today's post was my third and it was all about black;

White is the new black, Neon is the new black, [fill in trend] is the new black but the most ridiculous one I've ever come accross was; leopard print is the new black. Dear fashion editors, what are you talking about?! Black is Black.

“Black is modest and arrogant at the same time. Black is lazy and easy – but mysterious. But above all black says this: “I don’t bother you – don’t bother me”. -Yohji Yamamoto

ACCESORIES | Plain Rings

Photobucket

ring one | ring two | ring three | ring four

I really like these plain rings that don't make a statement or scream for attention.
Or actually make a statement by not making a statement. Whatever statement it is, it's a subtle one.

Thursday, March 1, 2012

DIY | Transparent Belt

Photobucket

Photobucket

Photobucket

Photobucket

Photobucket
dress: Cheap Monday (old)

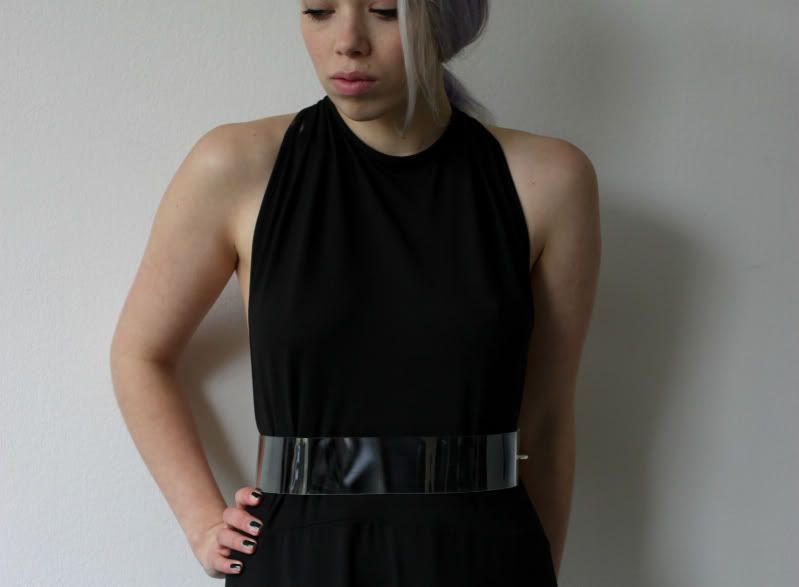
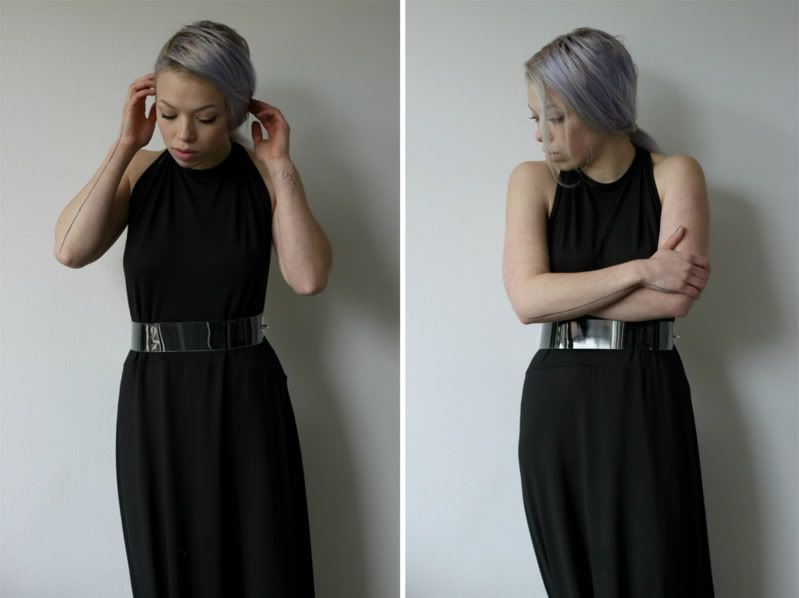
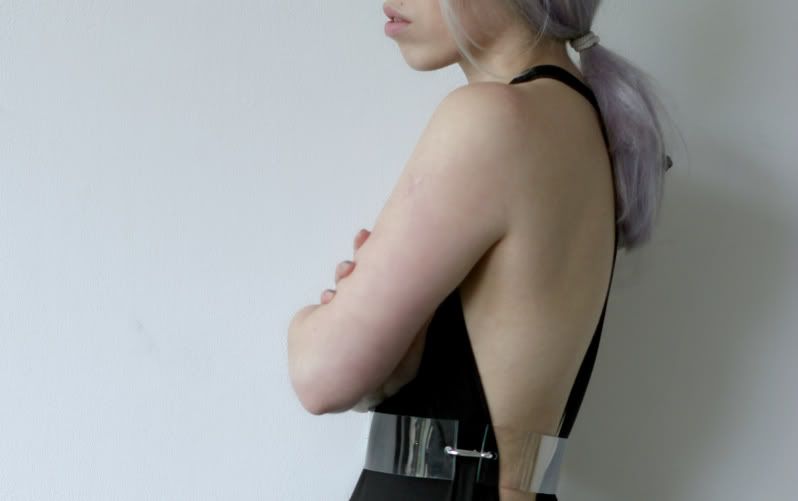
I'm sure you remember the DIY transparent arm cuffs and chokers I made out of perspex. Sandra from 5 inch and up came up with the brilliant idea to make larger versions of them to be able to use them as belts. And so that's what I've been working on today! One for myself and the other one will be on its way to London for Sandra. Below the super easy instructions for those who have a spare hour this weekend and fancy a clear belt.

Take measurements: Measure your waist but take into account that this measurement will be slightly larger when you are seated and that you will wear the belt on top of your clothes, so add a cm or two to your waist outline. Also decide how wide you want the belt to be, mine is 5cm. As you can see the front part of the belt is slightly longer than the back so that it looks minimalistic and clean from the front.
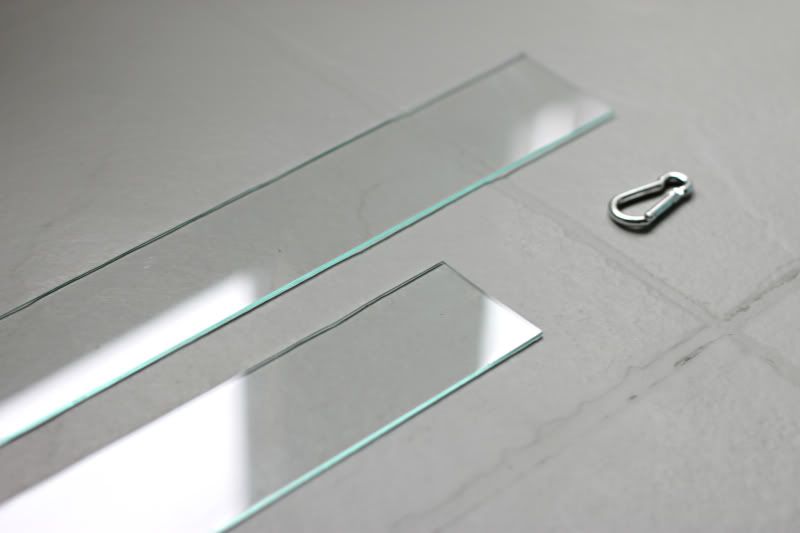
Cut the plexiglass: Making an incision with a stanley knife by letting the knife glide along a ruler. Then lay the plate of plexiglass on a table with the slit just over the edge. By pressing down you´ll be able to snap it off with a nice and clean cut. Now you should have a rectangle which you can again break into smaller pieces until you have two rectangles that are of the sizes you need. Using any kind of drilling machine (It is recommended to use a drill for metal. As I didn´t own that I used one for wood and it worked just fine.) make little holes close to the edges of your rectangles.
Bending it into shape: Heat your oven to 150 °C and put your rectangles inside one at a time on an oven plate. After 3 to 4 minutes take it out with oven mittens and bend it into shape by laying it over a round object(sauce pan? plant pot?).
Finishing: Now you can add the hardware. I used a small metal ring and a metal clasp to connect the transparent parts.

Thursday, February 9, 2012

ACCESSORIES | Hair-on Leather Purse

Photobucket

hair on clutch/shoulderbag : courtesy of Shampalove
patent wallet: Comme des Garçons

Had to share a picture of the purses I use every day, they look so good together. I love all the black on black different textures; matte, patent and hair-on leather. I´ve had these two for less than a month, but they have already made it to my favorites list.

Wednesday, February 1, 2012

ACCESSORIES | Black Ear Cuff

Photobucket

This adorable black mini cuff for your ear is from Asos and comes in a 3 pack together with a gold and a silver sibling. And just now, when I was browsing through their jewelry section, I discovered that they also have a three pack that includes a rosegold one instead of black.

Tuesday, January 24, 2012

ACCESSORIES | Berlin Buys

Photobucket

Photobucket

I entered almost every shop, went through hundreds of clothing racks, tried on a dozen dresses and countless shoes but only bought two small items. It were the kind of buys of which you don´t have to justify or ask yourself any questions about. The kind of buys that you already unwrap on your trainride home around the corner from the shop where you just got them. A thin delicate rosegold necklace from Weekday and a little pattent black pouch from Comme des Garcons.

here's a little post about my favorite Berlin shops from last year

Saturday, January 14, 2012

ACCESSORIES | Neon, Plastic, Folded Clutch

Photobucket

Photobucket

Photobucket

Photobucket

The simplest design you can imagine. This clutch is nothing more than a cross shaped piece of vinyl. Because of the adhesive qualities of the material it just sticks together as you fold it. No zippers, no stitches, no clasps, no handles, no fuss; genius. An easy DIY you´d think, but sometimes I think great ideas deserve to be bought. Specially if the item is affordable you should support great design. This clutch and I-pad case by Dutch designer Samira Boon was on sale for only 18 euros.

Monday, January 2, 2012

NOVELTY | CO|TE ss12, The Accessories

Photobucket

Photobucket


Besides their clothing line, Co-Te also produces a series of stunning accessories each season:
Get the gold studded belt here
and the clutch with a handle here

Though CO-TE doesn't fit within the usual Italian aesthetic, it does follow the craftmanship tradition and quality of made in Italy. Co-Te comes from cote an old English word meaning shelter or protection, a returning theme within the brand. While this is only the third collection of design duo Francesco Ferrari and Tomaso Anfonssi, they have already gained recognition from journalists from WWD, Vogue and L'Officiel just to name a few. But it's not only about beautiful images in magazines, Co-Te makes clothes that women want to wear (I neeed nude leather for spring!!). Follow this young brand on Facebook.

Friday, December 30, 2011

DIY | Transparent Neck Cuff

Photobucket

Photobucket

Photobucket

Photobucket

Photobucket

Photobucket

Photobucket

Photobucket

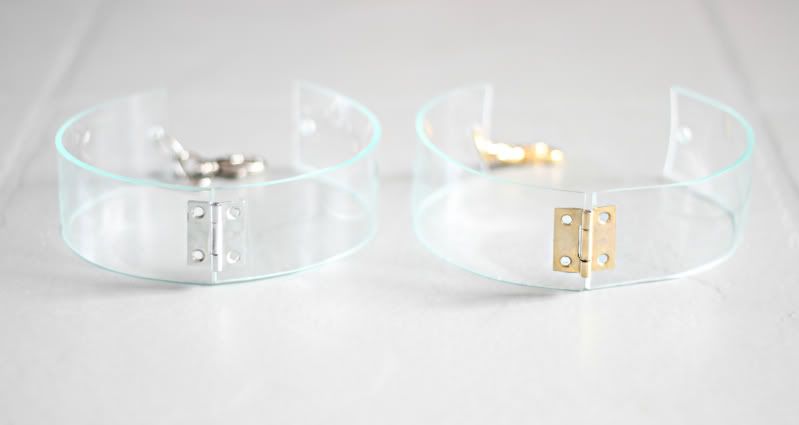
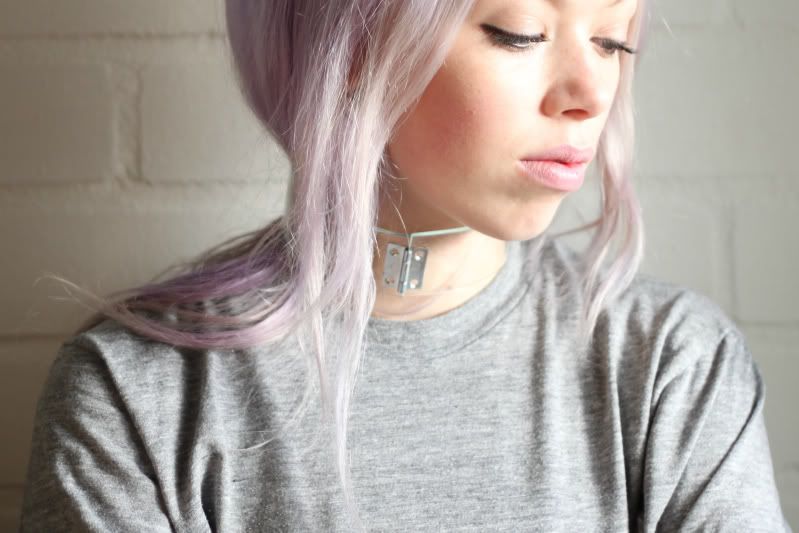
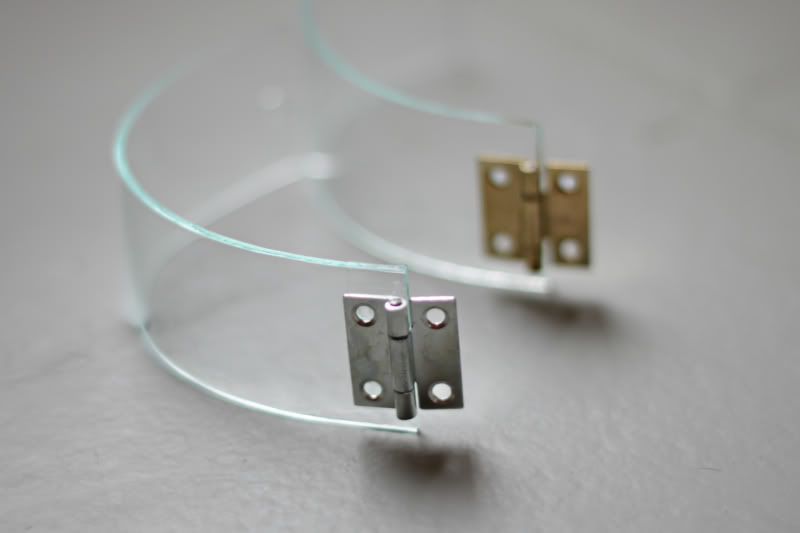
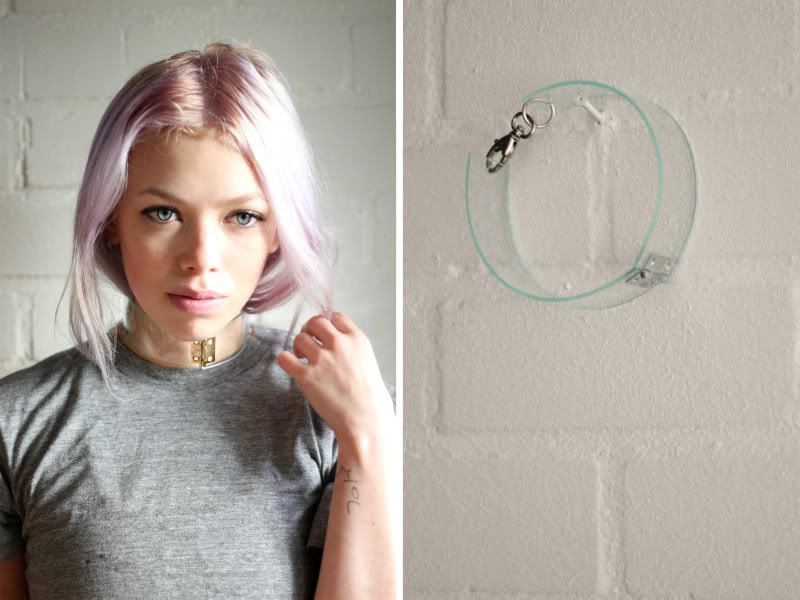
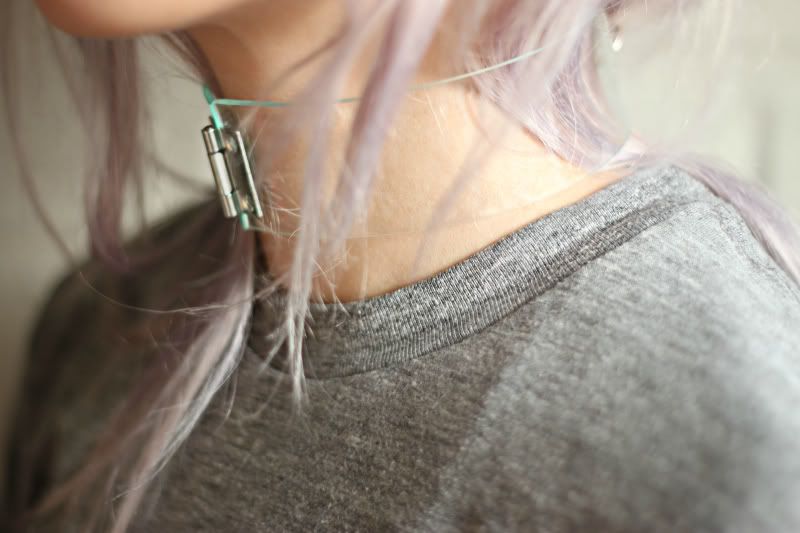
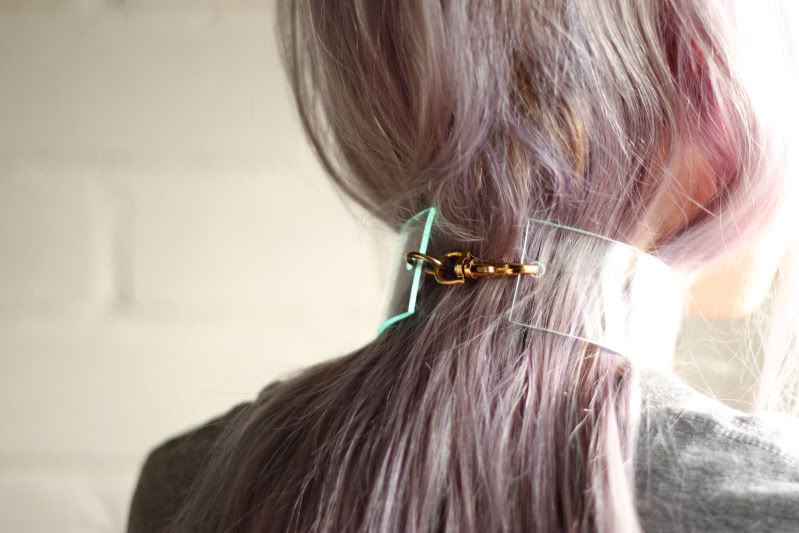
The transparent obsession continues. After making these DIY cuffs with perspex and finding out how easy it was, a million ideas for making more things with this material effortlessly came to mind. One of them was the neck cuff which is now a reality! Choosing between gold or silver metal details was too hard so I made one of each. Instructions below, and if something isn't clear, leave me a comment, I'll answer all questions!

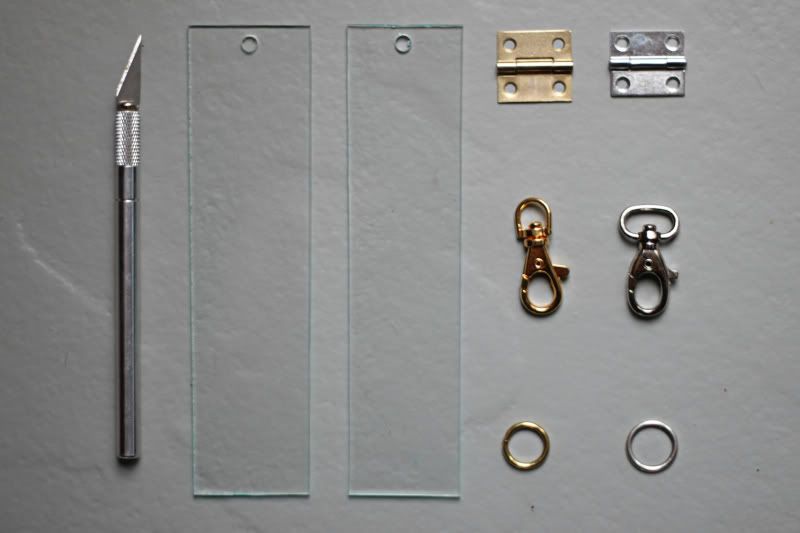
Take measurements: The length of your clasp should be how wide the gap between the plexiglass parts is. Measurements that I used were: outline of necklace 36cm, width 4cm, gap between two transparent parts 4 cm.
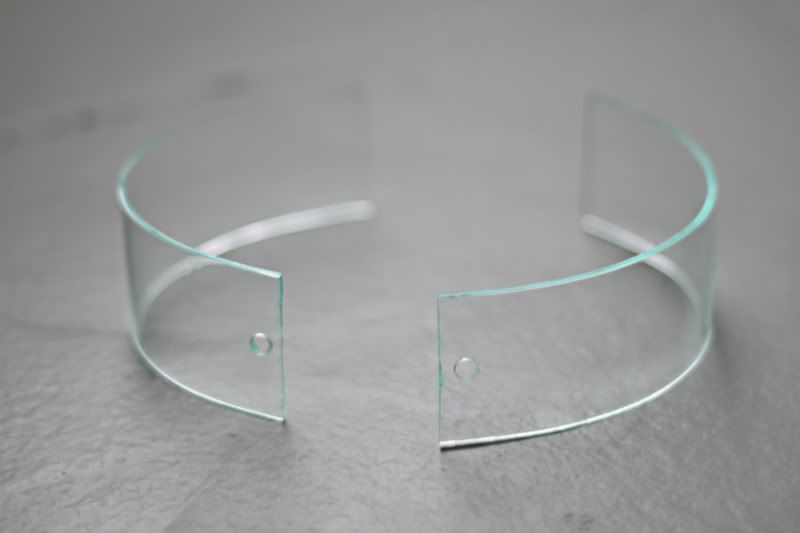
Cut the plexiglass: Making an incision with a stanley knife by letting the knife glide along a ruler. Then lay the plate of plexiglass on a table with the slit just over the edge. By pressing down you´ll be able to break it off with a nice and clean cut. Now you should have a rectangle which you can again break into smaller pieces until you have two rectangles that are 16cm long and 4cm wide. Using any kind of drilling machine (It is recommended to use a drill for metal. As I didn´t own that I used one for wood and it worked just fine.) make a hole in each rectangle.
Bending it into shape: Heat your oven to 150 °C and put your rectangles inside one at a time on an oven plate. After 3 to 4 minutes take it out with oven mittens and bend it into shape by laying it over a round object with an outline of apx 36cm (sauce pan? plant pot?).
Finishing: Now you can add the hardware. I used a tiny metal hinge and a clasp to connect the transparent parts. The hinge is attached with epoxy glue but if you have more time on your hands you could also use small screws. Good luck!

Wednesday, December 28, 2011

ACCESSORIES | Alexander Wang Shades

Photobucket

Photobucket

Got these black sunglasses from Alexander Wang for Christmas. They are very basic yet shaped a bit differently than the usual black wayfarer. I love that they have nose pads which I think makes them a bit less sleek and a bit more 1990s. A great addition to my wardrobe, thank you mommy Santa!

Tuesday, December 13, 2011

ACCESSORIES | Disposable to Nondisposable

Photobucket

Though the idea might not be very original anymore, I still find these disposable made into nondisposable designs very charming, simple and effective.
This ´Flat bag´ by Cheap Monday comes in both grey and black. I haven´t found it online but is available at Weekday.

Monday, November 28, 2011

ACCESORIES | Triple Rings

Photobucket

My most recent purchase from Asos, these three Margiela look alike rings.

Thursday, November 10, 2011

ACCESSORIES | Gold Ear Cuff

Photobucket
Nails covered with golden nail foil from Sephora

This ear cuff always gets lots of compliments on and off my blog. I found it last year in the second hand section of my local jewelry shop. If you're also looking for one; the internet is packed with similar pieces. On Ebay and Etsy there there are literally hundreds of ear cuffs decorated with chains, feathers and stones but I prefer them simple and without any attachments. Like this one in gold or this one in silver.

Sunday, October 9, 2011

ACCESSORIES | Zana Bayne Petite Harness

Photobucket
Zana Bayne

shirt: Filippa
jeans: Acne
Harness: Zana Bayne


Wearing the petite harness today backwards ánd upside down.
Visit Zana Bayne leather online shop and check out the amazing new collection she has put together for this season.

Saturday, October 1, 2011

DIY | Transparent Cuffs

Photobucket

Photobucket

Photobucket

Photobucket

Photobucket
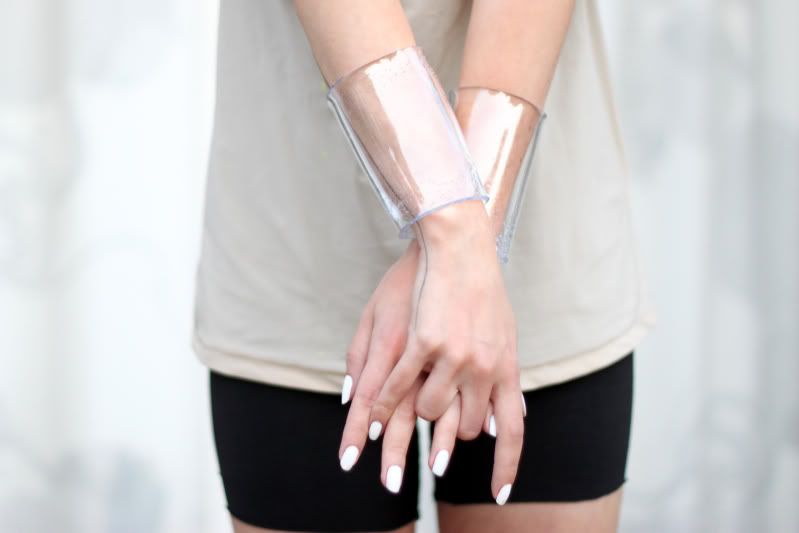
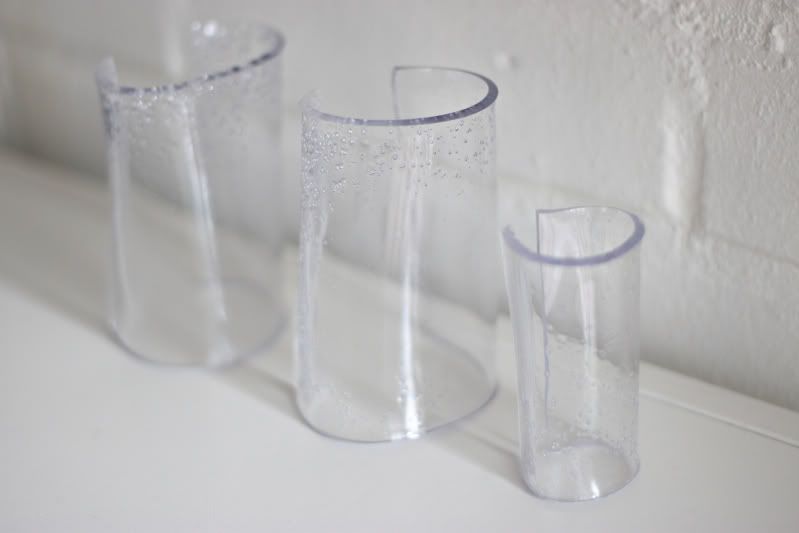
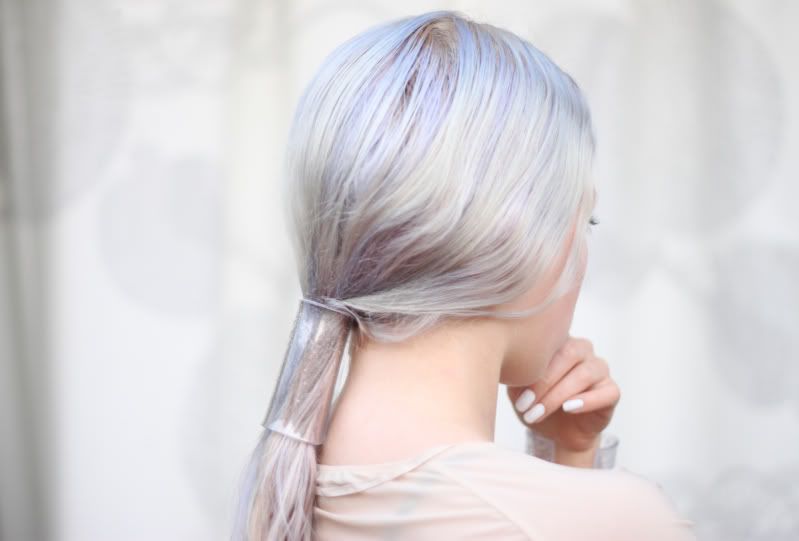
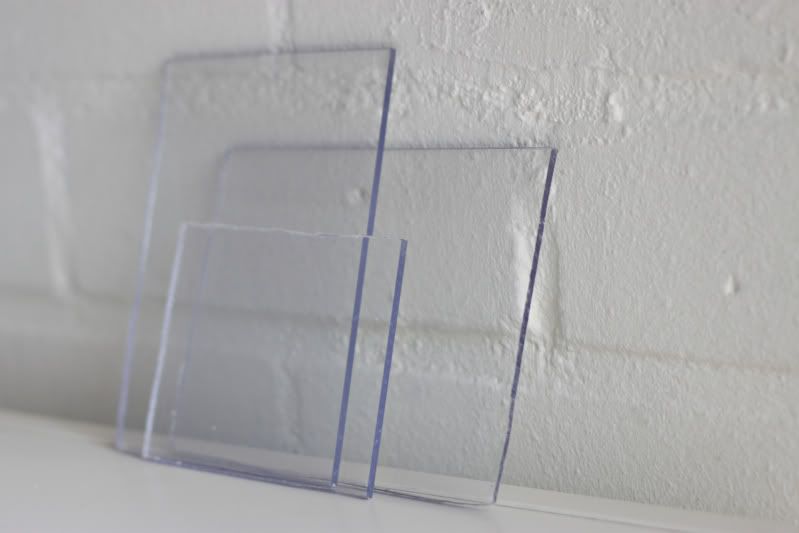
Transparent jewelry, accessories and heels seen at la Maison MM, Simone Rocha and pretty much every where else. Perspex is such an easy material to work with, it bends with heat and hardens in regular temperatures. If you own an oven, you can make these! You can be sure that I'll be experimenting more with this material(sensing a neck cuff?), but for now I'm estatic about today's project and can not wait to wear my cuffs over a thin knit or silk longsleeve, they literally go with everything.

What you will need:
A piece of perspex (available at any hardware store)
A figure saw for metal
An oven
file

Measure how long you want to cuffs to be, the measurements I used were
11cm(length) by 14cm(round). A small leftover piece was used for the hair cuff. With the saw cut a square out of the persplex plate.

Heat your oven to 200°C and place your square of perspex inside on a flat oven tray. In less than 5 minutes the perspex should be soft and bendable. If you leave it in the oven for too long, tiny bubbles will start to form inside the plastic. This can also happen if the heat in your oven isnt distributed evenly(like in mine).

Take out your square with oven mittens and immediately start to bend it into shape while wearing oven mitts. Don´t worry, the plastic is very bendable but isn´t sticky. The persplex will harden within 30 seconds so be quick! If the edges of your cuffs are too sharp you can smooth them with a file.
*For everyone who decides to make them, e-mail me a picture! I love to hear from my readers. love-aesthetics@hotmail.com

Saturday, September 24, 2011

ACCESSORIES | Zoé Hermsen Handbag

Photobucket

Photobucket

The lovely Zoé Hermsen gifted me one of her wonderful handmade bags today. Even the gigantic envelope she packed it in was made by her and had my name on it in her unique handwriting. The handbag is basically a 60 cm long rectangle which looks unusually large yet not oversized. The smart details like the long loose zipper and removable handle make it even more special. I can already see this will become one of those pieces you wear all the time, I will roll it up, fold it like a clutch and stuff it to the top on (school)days when I have more baggage.
You can order one of her bags HERE.

___________________________________________

Q&A with
Zoé Hermsen


Can you describe your aesthetic in five words?
Monochromatic. Simplistic. Sleek. Unusual. Craftsmanship.

What is the idea behind your handbags?
They originated out of necessity because I could never find cool bags in stores or online (if I did they were too expensive for me). During the design process I realized how important simplicity is for me, I didn't like too much futilities but was after a strong and unexpected image. Also I think it's important that my products are produced in an honest way. It has been offered to me to produce my bags on a larger scale in China but that didn't seem like a good plan. My parents taught me to be aware of fair trade and I want to stick to those values; keeping my product authentic from beginning to end of the production process, the fact that they are handmade fits within that idea.

What is are the future plans for your brand?
I want to start out with adding 3 more bags to the collections. I want to continue producing bags and accessories for now.