Showing posts with label DIY. Show all posts

Monday, May 7, 2012

DIY | The Perfect Ripped Denim

Photobucket

Photobucket

Photobucket

Spring is the season that my jeans, leggings and tees fear for their lives; for it is the season that the scissors come ou4-t to slash them in half and rip them apart. But my dear clothes shouldn't be afraid because with these small adjustments they'll be loved and worn even more.

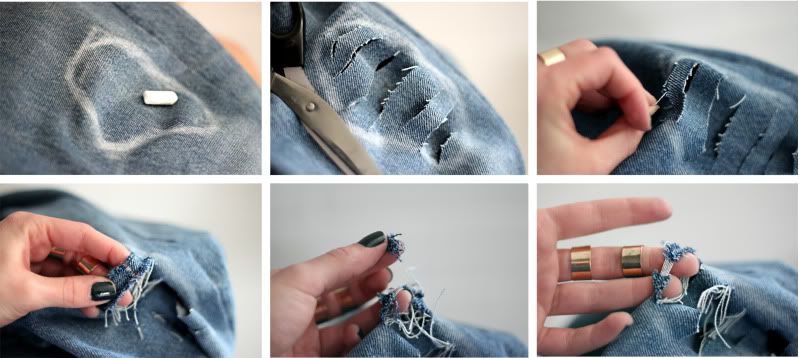
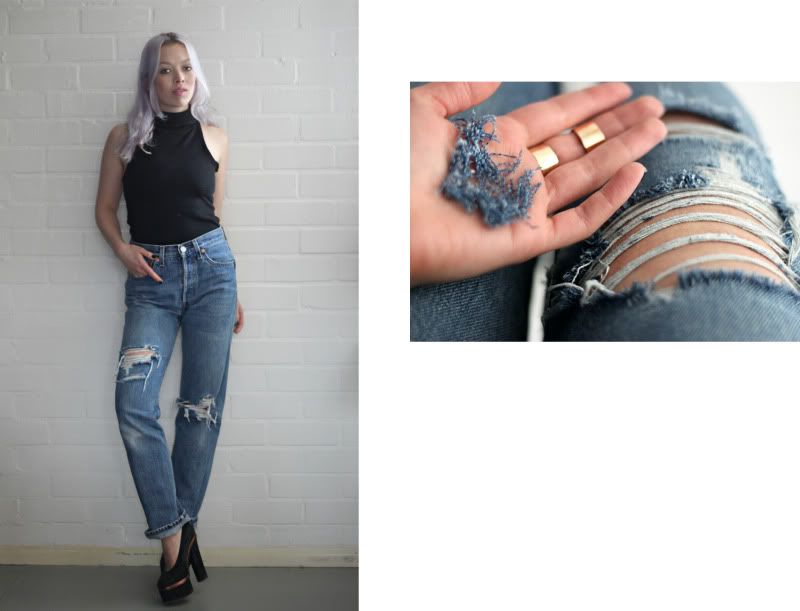
Today it was the turn of my new pair of vintage Levi's to become the perfect 1990s mom jeans, a cheaper and more real alternative to the ripped denim pieces from Acne. I'm sure everyone is capable of making a couple of holes in fabric. Though denim doesn't always do exactly what you want it to do, so I documented this little trick to make holes in denim while at the same time keeping the beautiful white horizontal threads intact.


1. Put on the jeans and mark the places you want the holes to be with chalk or pen.
2. Cut horizontal slits on the spots of the holes.
3. Start pulling on the white horizontal threads. You can use a needle to loosen them up.
4. After removing some of the horizontal threads, the vertical blue threads can be pulled out.
5. Pick and pull out all the blue vertical threads.
6. Done! The holes will look more natural after your jeans had a wash.

DIY | Minimal White Leather Top

Photobucket

Photobucket

Photobucket

Photobucket

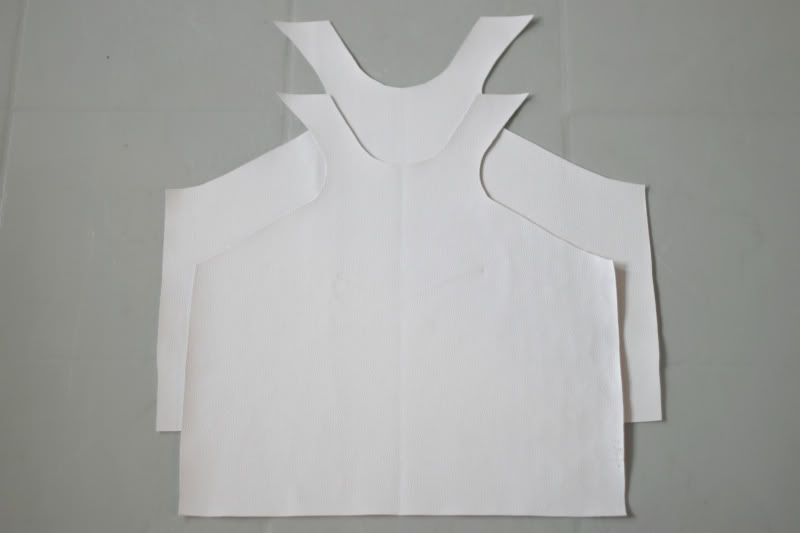
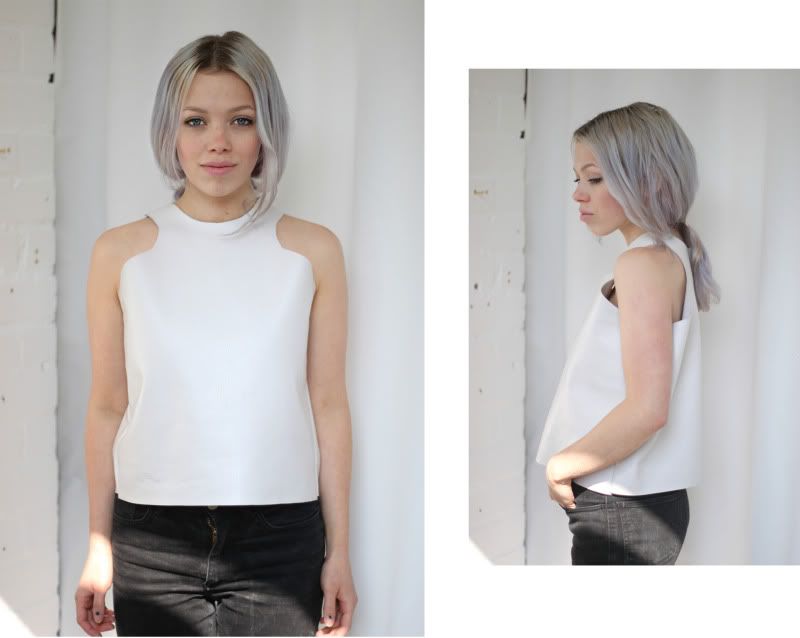
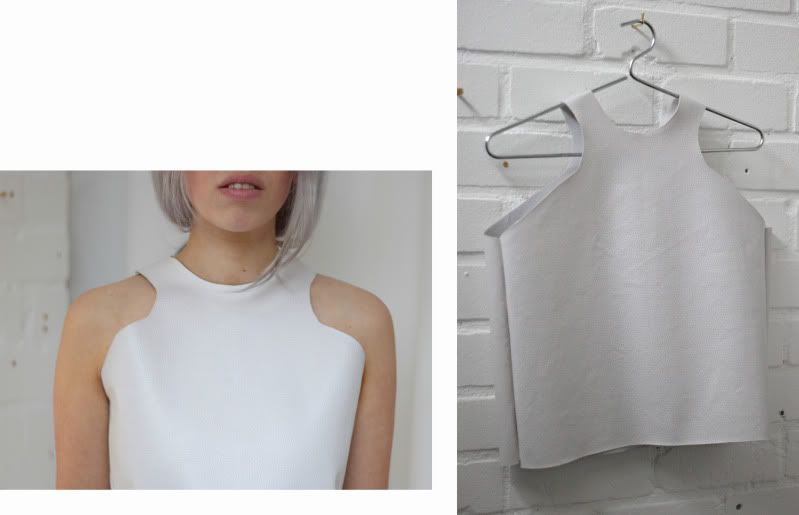
I've been making some new garments last weekend which I couldn't find in stores. This minimalistic leather boxy top with a Céline feel and a Calvin Klein neckline was one of them and was incredibly easy to make. Here are the instructions!

•leather
•scissors
•needle and thread/sewing machine
•chalk

Trace one of your regular racer back tanktops on the back of your piece of leather with chalk. The leather has no stretch and will sit like a box around you once this top is done, so draw an outline of 5cm around the lines of the racerback tanktop that you traced. Add another 5 cm to every side of the back part of the top. Once you cut them out you should have two identical parts of which one is broader than the other (see picture). Sew everything together and make a little slit in the back so that your head can fit through. Done!
DIY | All Purpose Leather Net Bag

Photobucket

Photobucket

online gif creator                      Photobucket


Photobucket

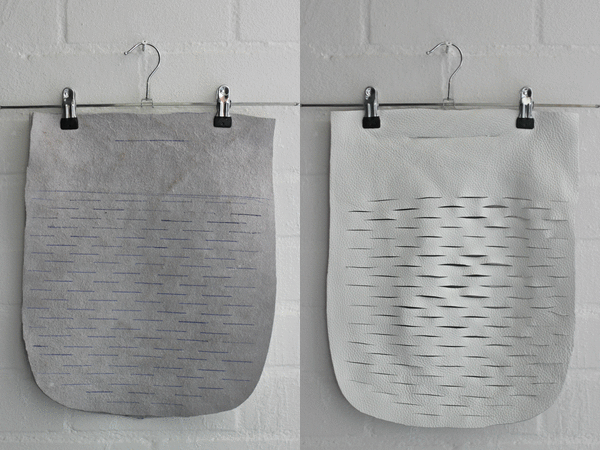
Every month I make a DIY post for Nsmbl.nl, a relatively new independant online magazine from The Netherlands who has grown to become one of the biggest of the country in under a year. If you ask me it´s becasue of their great eye for content and the dedication of their founder Anna Nooshin. For April I made this leather purse/ groceries net bag/ clutch when folded. The images are pretty self explanatory, but if you want to read the full tutorial(with a little help of google translator) click here.
DIY | Shirt Skirt

Photobucket

Photobucket

Photobucket

Easy peasy shirt-skirt.
All I did was slice a long shirt in half.
I didn't cut it straight because I wanted the back part to be slightly longer.
Then made a seem on the top of the skirt part, pulled through a string (that I quickly made from some left over leather) et voila!
Now let's hope for some sun! Fingers crossed!

Thursday, March 1, 2012

DIY | Transparent Belt

Photobucket

Photobucket

Photobucket

Photobucket

Photobucket
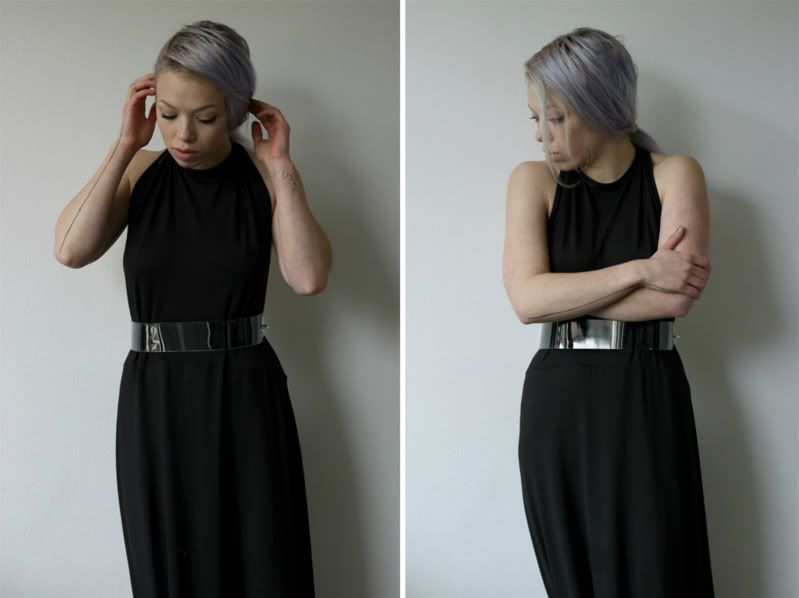
dress: Cheap Monday (old)

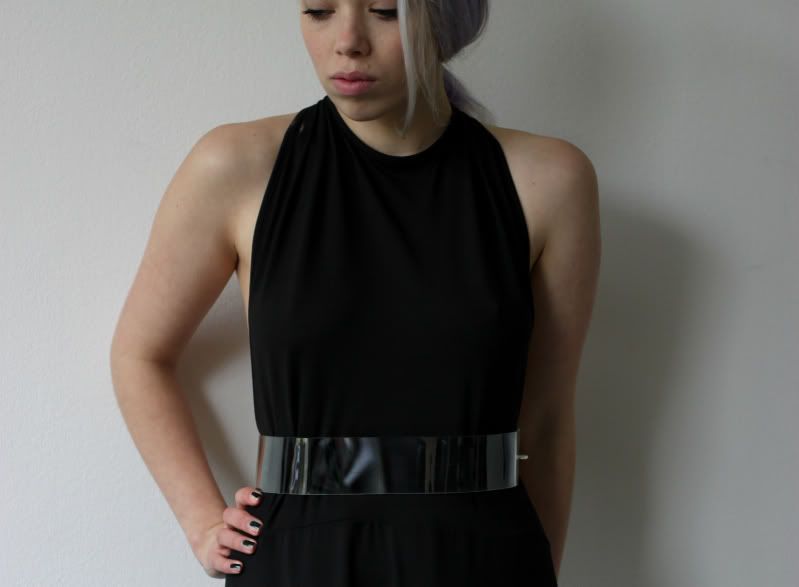
I'm sure you remember the DIY transparent arm cuffs and chokers I made out of perspex. Sandra from 5 inch and up came up with the brilliant idea to make larger versions of them to be able to use them as belts. And so that's what I've been working on today! One for myself and the other one will be on its way to London for Sandra. Below the super easy instructions for those who have a spare hour this weekend and fancy a clear belt.

Take measurements: Measure your waist but take into account that this measurement will be slightly larger when you are seated and that you will wear the belt on top of your clothes, so add a cm or two to your waist outline. Also decide how wide you want the belt to be, mine is 5cm. As you can see the front part of the belt is slightly longer than the back so that it looks minimalistic and clean from the front.
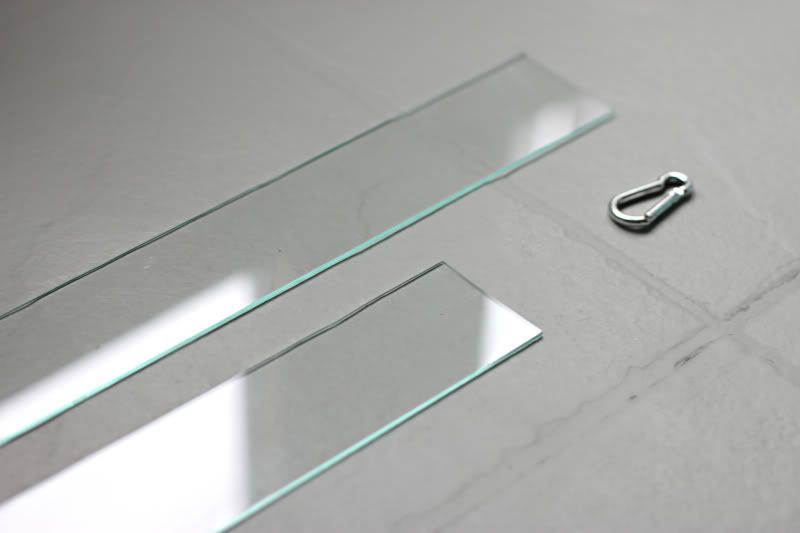
Cut the plexiglass: Making an incision with a stanley knife by letting the knife glide along a ruler. Then lay the plate of plexiglass on a table with the slit just over the edge. By pressing down you´ll be able to snap it off with a nice and clean cut. Now you should have a rectangle which you can again break into smaller pieces until you have two rectangles that are of the sizes you need. Using any kind of drilling machine (It is recommended to use a drill for metal. As I didn´t own that I used one for wood and it worked just fine.) make little holes close to the edges of your rectangles.
Bending it into shape: Heat your oven to 150 °C and put your rectangles inside one at a time on an oven plate. After 3 to 4 minutes take it out with oven mittens and bend it into shape by laying it over a round object(sauce pan? plant pot?).
Finishing: Now you can add the hardware. I used a small metal ring and a metal clasp to connect the transparent parts.

Monday, February 13, 2012

INTERIOR | DIY Upside Down Hanger

Photobucket

Photobucket

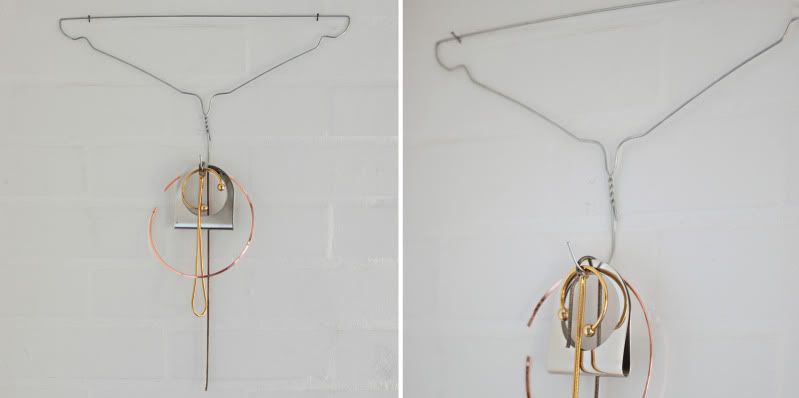
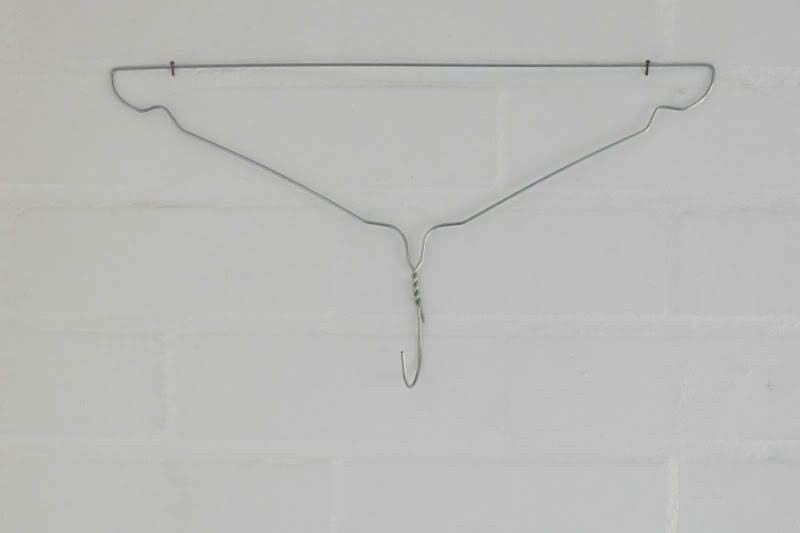
This easy transformation of a clothing hanger into a hook is my first of a monthly DIY feature I'm doing on the best Dutch online magazine out there; NSMBL.nl .
(It is actually a redo of a DIY I did a year ago.) It is such a ridiculously easy way to create a new space to hang jewelry, clothes or hats that I don't really need to explain how to make one of your own, right?

Tuesday, February 7, 2012

VIDEO | DIY Cracked Denim


Photobucket

Photobucket
jeans: courtesy of THVM Atelier
top: COS
heels: Weekday
chair: Hema


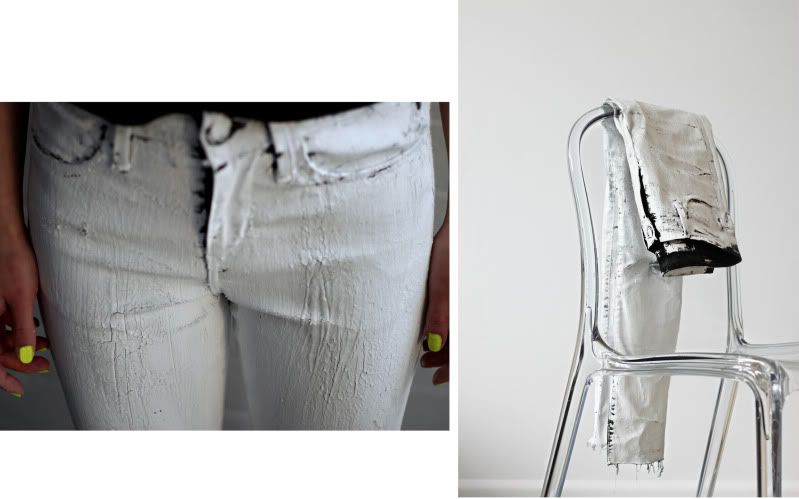
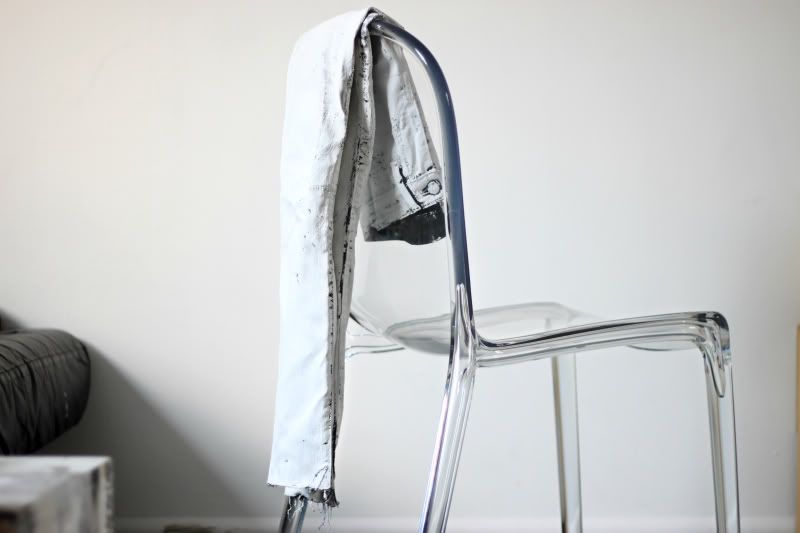
My black jeans had a make over yesterday, they now look like they have been dipped in white concrete. I love the bursted and imperfect surface of the denim. They have become a delicate piece of clothing that will only get better with time. Flakes of paint will fall off on places where the fabric folds and a white wash will be left on the denim. Stains can be easily brushed off the dusty surface.

What you will need to make a pair of your own is some old jeans, a brush and acrylic paint. All you have to do is apply a thick layer of paint on the denim. After an hour or two your jeans should be dry and stiff. Now you can literally break them in. The paint will burst and the first half hour you´ll be losing a lot of paint flakes and dust. (A walk outside is recomended!) But after giving them a chance to shape to your body you can wear them without leaving a dust trail. I can't wait to incorporate these into a few outfits!

Friday, December 30, 2011

DIY | Transparent Neck Cuff

Photobucket

Photobucket

Photobucket

Photobucket

Photobucket

Photobucket

Photobucket

Photobucket

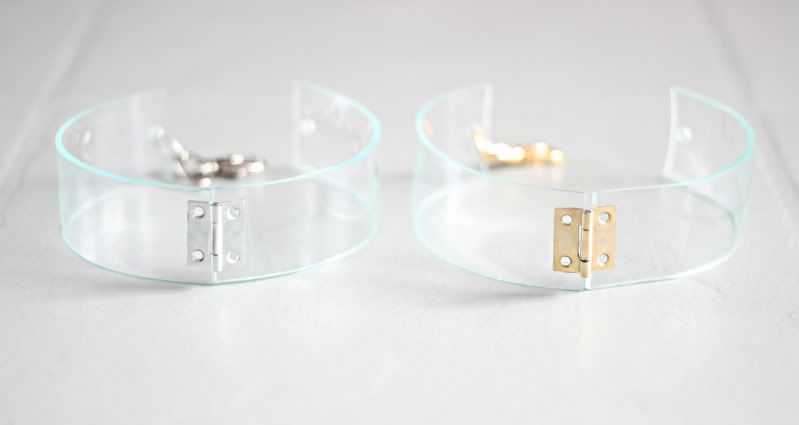
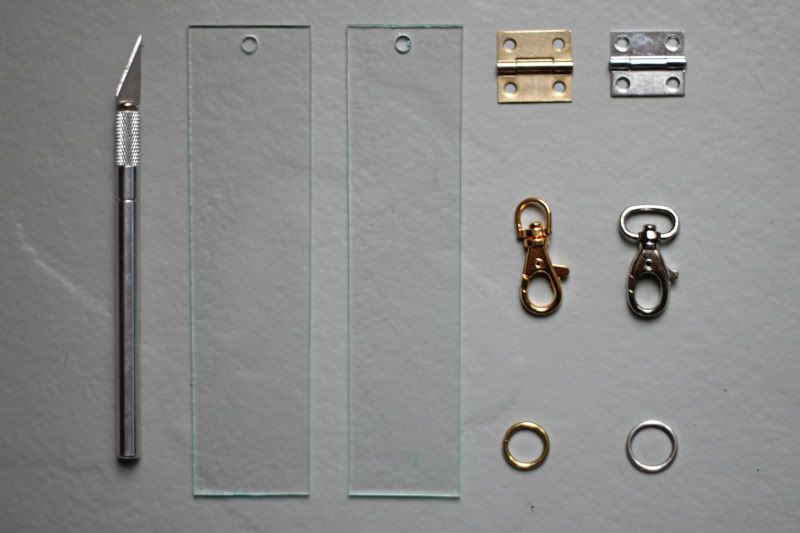
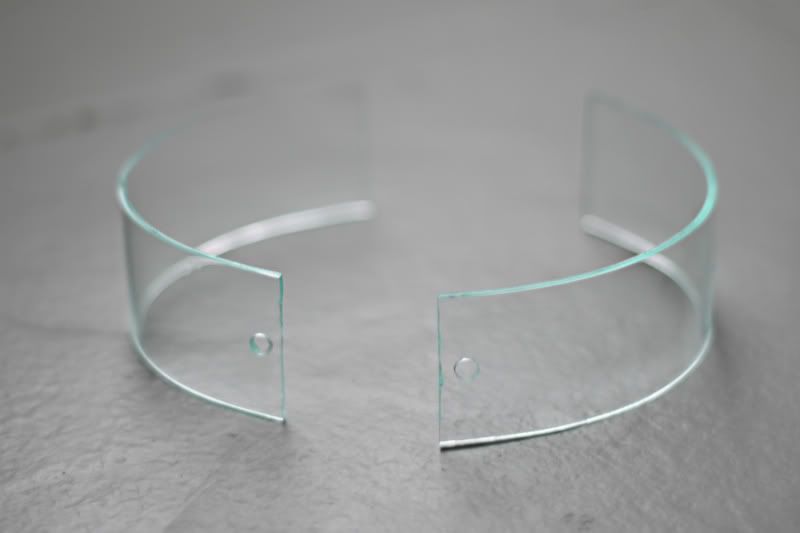
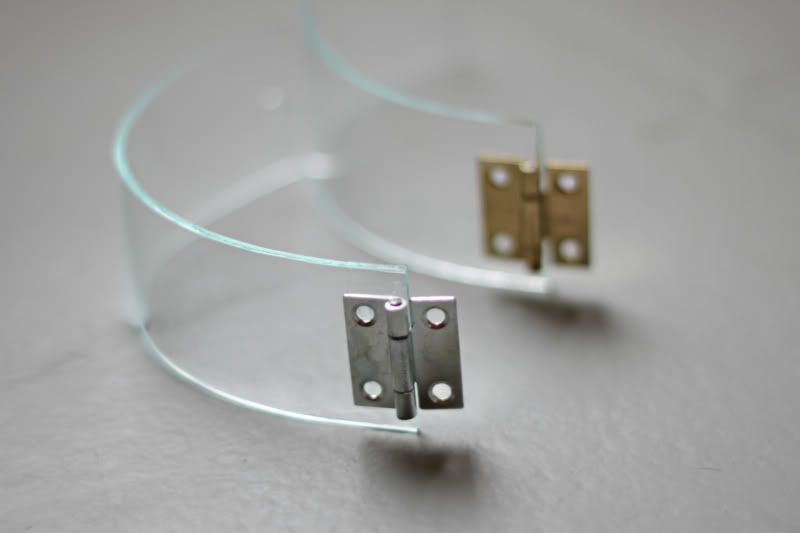
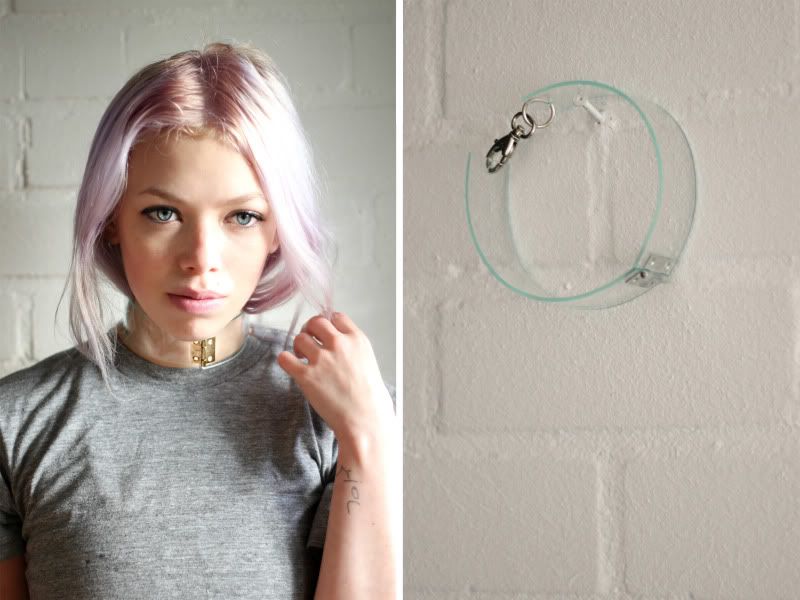
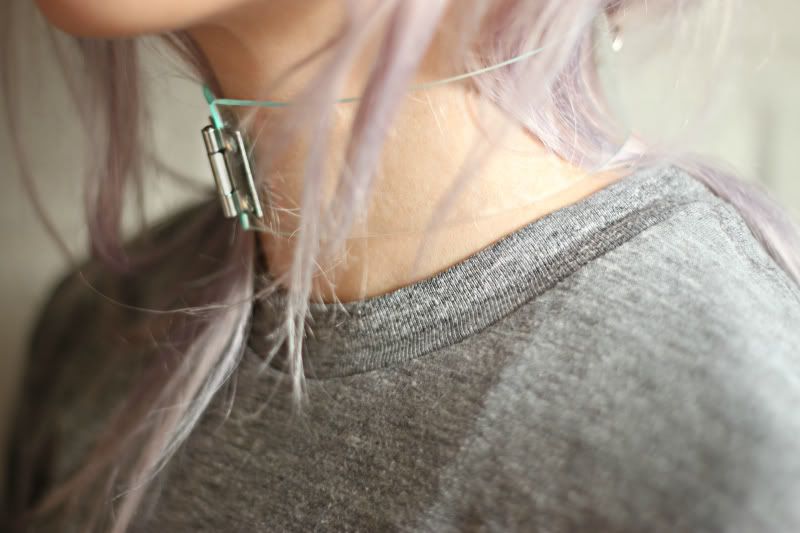
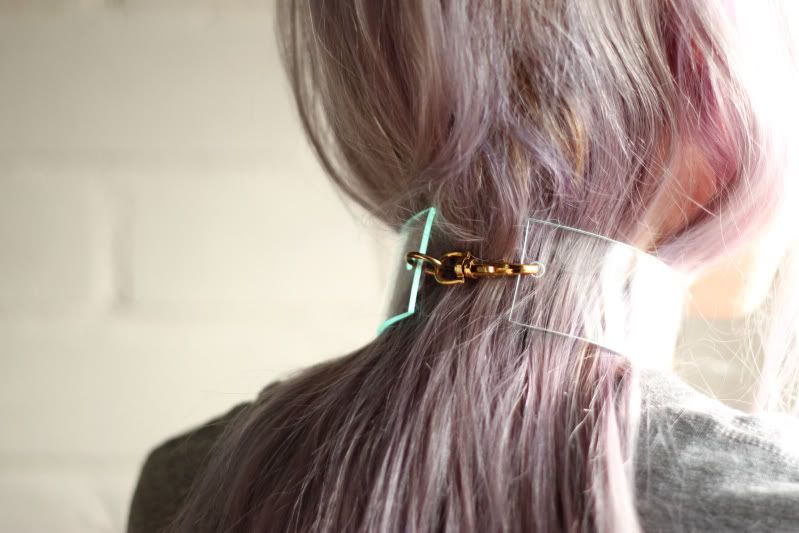
The transparent obsession continues. After making these DIY cuffs with perspex and finding out how easy it was, a million ideas for making more things with this material effortlessly came to mind. One of them was the neck cuff which is now a reality! Choosing between gold or silver metal details was too hard so I made one of each. Instructions below, and if something isn't clear, leave me a comment, I'll answer all questions!

Take measurements: The length of your clasp should be how wide the gap between the plexiglass parts is. Measurements that I used were: outline of necklace 36cm, width 4cm, gap between two transparent parts 4 cm.
Cut the plexiglass: Making an incision with a stanley knife by letting the knife glide along a ruler. Then lay the plate of plexiglass on a table with the slit just over the edge. By pressing down you´ll be able to break it off with a nice and clean cut. Now you should have a rectangle which you can again break into smaller pieces until you have two rectangles that are 16cm long and 4cm wide. Using any kind of drilling machine (It is recommended to use a drill for metal. As I didn´t own that I used one for wood and it worked just fine.) make a hole in each rectangle.
Bending it into shape: Heat your oven to 150 °C and put your rectangles inside one at a time on an oven plate. After 3 to 4 minutes take it out with oven mittens and bend it into shape by laying it over a round object with an outline of apx 36cm (sauce pan? plant pot?).
Finishing: Now you can add the hardware. I used a tiny metal hinge and a clasp to connect the transparent parts. The hinge is attached with epoxy glue but if you have more time on your hands you could also use small screws. Good luck!

Wednesday, December 21, 2011

DIY | Not Too Late To Find The Perfect Gift

Photobucket

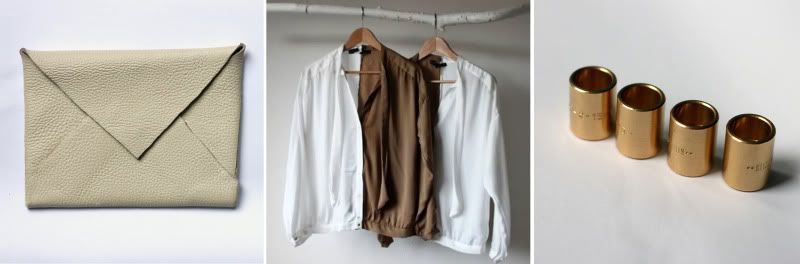
Leather Envelope / Two Tone Shirt / Jewelry from the hardware store

A piece of leather and a bit of glue is all it takes to make a leather envelope. You could also give your bestie the other half of your shirt. Or you could run down to the hardware store to find a jewelry gift that is actually unexpected.

Wednesday, December 7, 2011

DIY | Duct Tape Christmas Tree

Photobucketmaking a gif

Photobucket

Photobucket

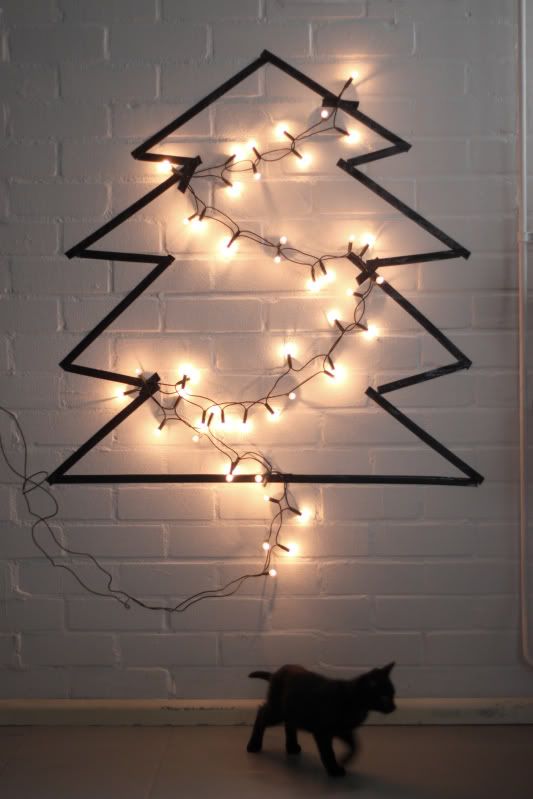
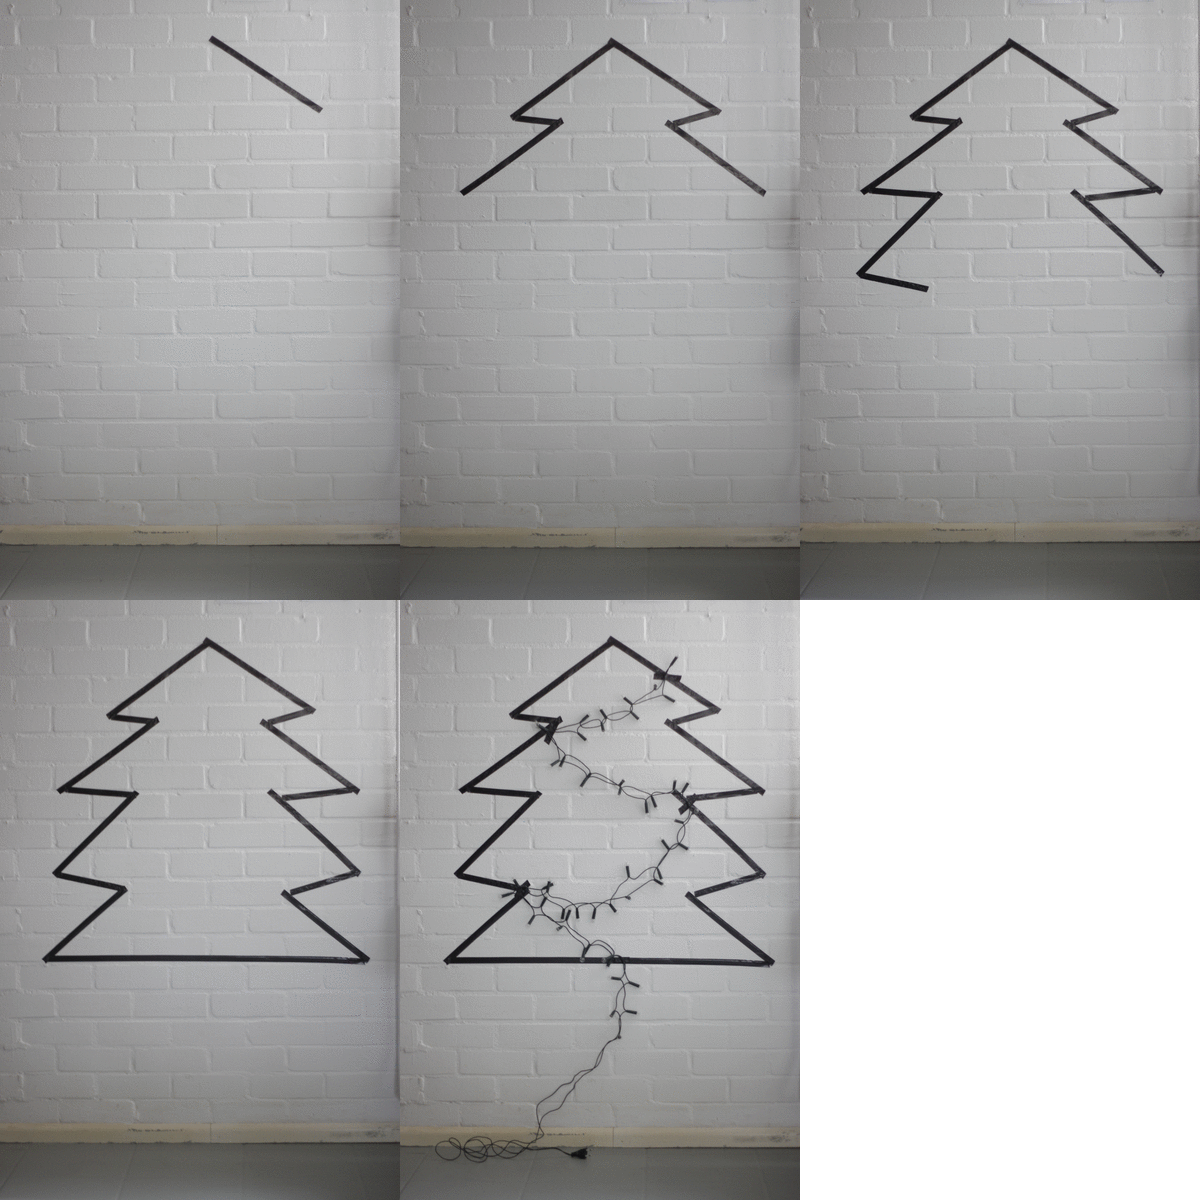
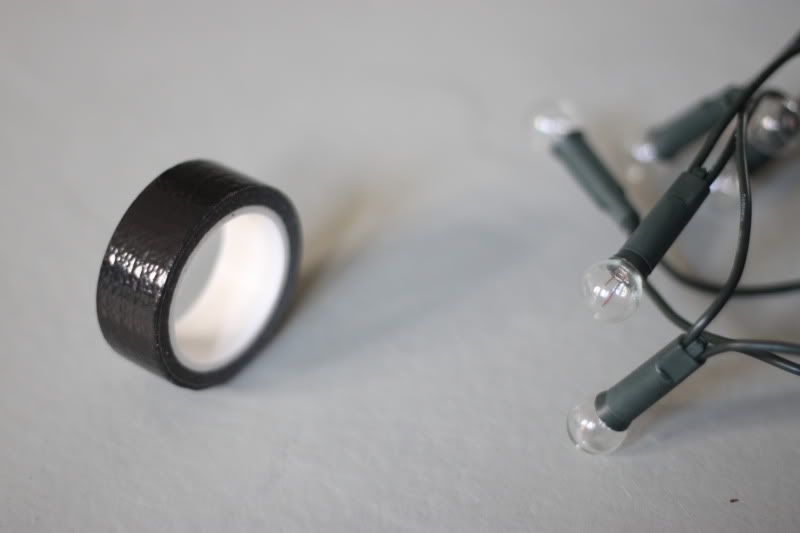
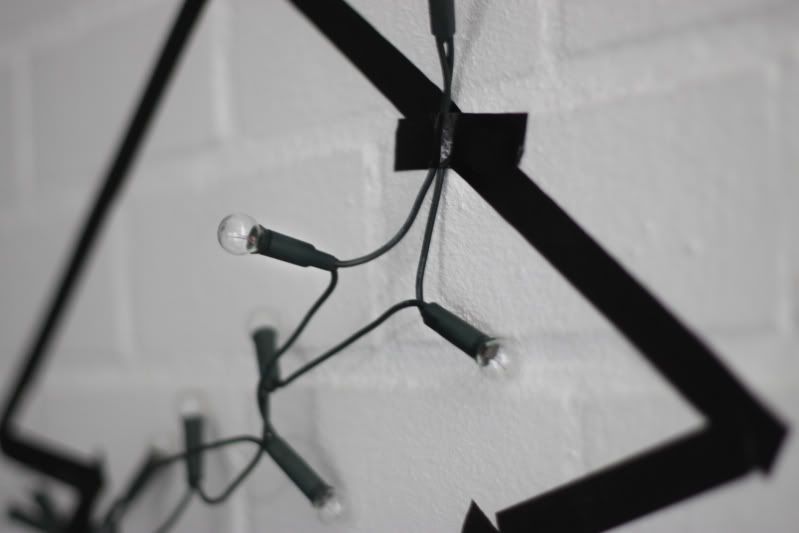
All you will need for this no-fuss DIY Christmas tree is a roll of narrow black duckt tape, some Christmas lights and 15 minutes.
I was going to write a couple of words with instrutions, how great this is for those who don't have time, for students... but it's so simple that there isn't that much to say. Good luck taping lights to your wall!

Saturday, November 5, 2011

DIY | Last Minute Cut Out Skirt

how to make a gif
heels Topshop Unique (old)

I can only perform under pressure of a deadline and the same goes for getting dressed. When a certain event is only days away I realize that the beautiful piece I saw online will never reach me on time. This is when you have to make the most of what you already own. I always end up pulling out the scissors to make the needed adjustments.

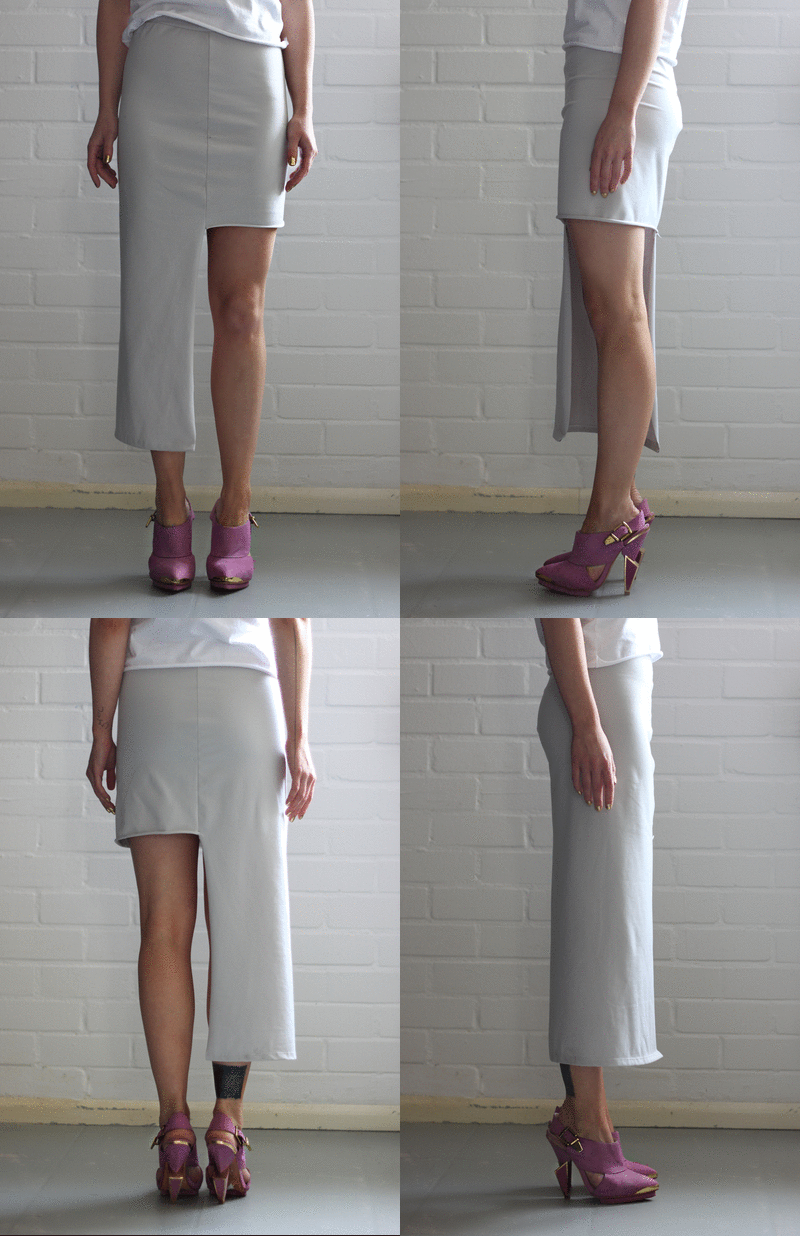
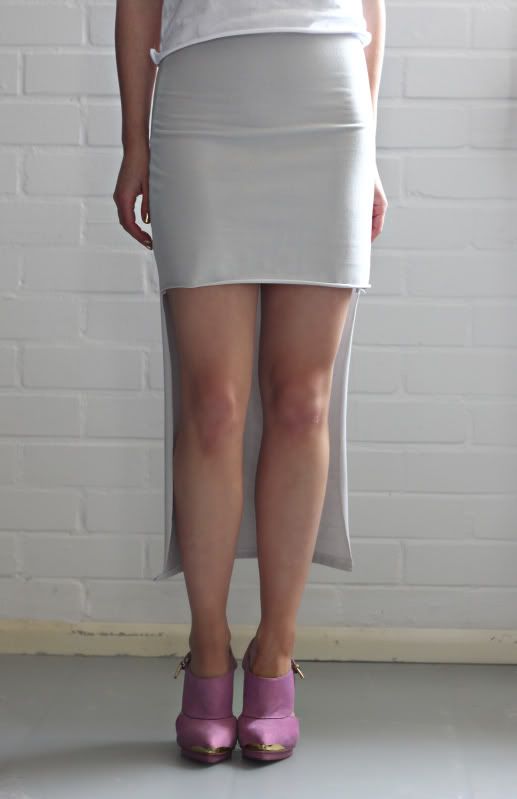
Yesterday night were the Dutch Fashion Awards, three prizes that are yearly given to Dutch design talent. What I wore was this skirt from which I cut out a rectangle paired with a simple white tee and slicked back hair. I was afraid that the cutout would make the skirt less versatile but on the contrary I found more ways to wear it in it's renewed form; cutout on the front, cutout on the side or even knotted.

Saturday, October 1, 2011

DIY | Transparent Cuffs

Photobucket

Photobucket

Photobucket

Photobucket

Photobucket
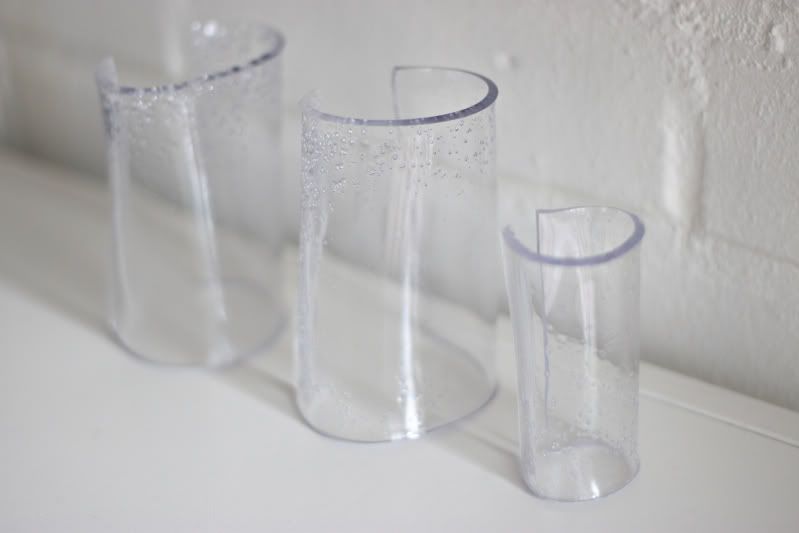
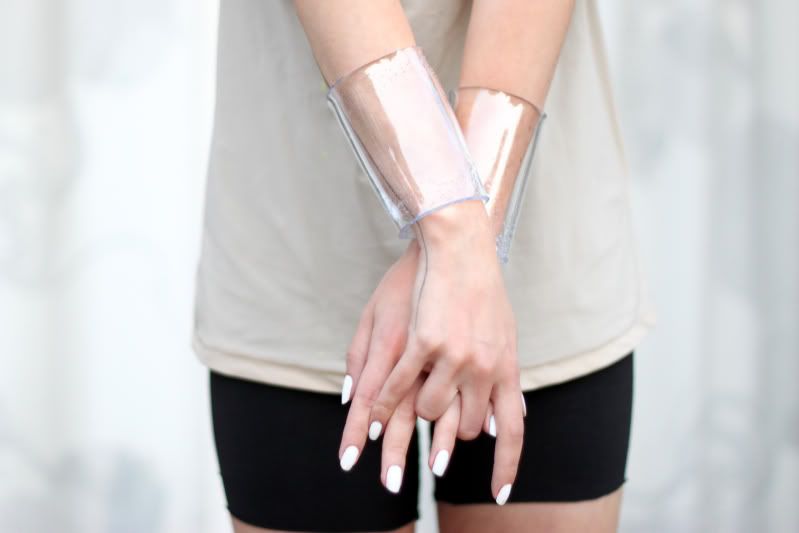
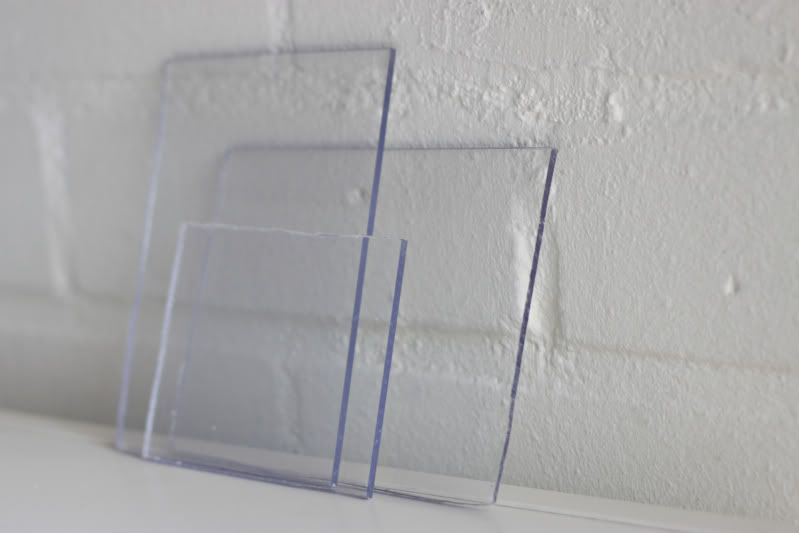
Transparent jewelry, accessories and heels seen at la Maison MM, Simone Rocha and pretty much every where else. Perspex is such an easy material to work with, it bends with heat and hardens in regular temperatures. If you own an oven, you can make these! You can be sure that I'll be experimenting more with this material(sensing a neck cuff?), but for now I'm estatic about today's project and can not wait to wear my cuffs over a thin knit or silk longsleeve, they literally go with everything.

What you will need:
A piece of perspex (available at any hardware store)
A figure saw for metal
An oven
file

Measure how long you want to cuffs to be, the measurements I used were
11cm(length) by 14cm(round). A small leftover piece was used for the hair cuff. With the saw cut a square out of the persplex plate.

Heat your oven to 200°C and place your square of perspex inside on a flat oven tray. In less than 5 minutes the perspex should be soft and bendable. If you leave it in the oven for too long, tiny bubbles will start to form inside the plastic. This can also happen if the heat in your oven isnt distributed evenly(like in mine).

Take out your square with oven mittens and immediately start to bend it into shape while wearing oven mitts. Don´t worry, the plastic is very bendable but isn´t sticky. The persplex will harden within 30 seconds so be quick! If the edges of your cuffs are too sharp you can smooth them with a file.

*For everyone who decides to make them, e-mail me a picture! I love to hear from my readers. love-aesthetics@hotmail.com

Thursday, September 15, 2011

INTERIOR | Floating Clothing Rack

Photobucket

Photobucket

Photobucket

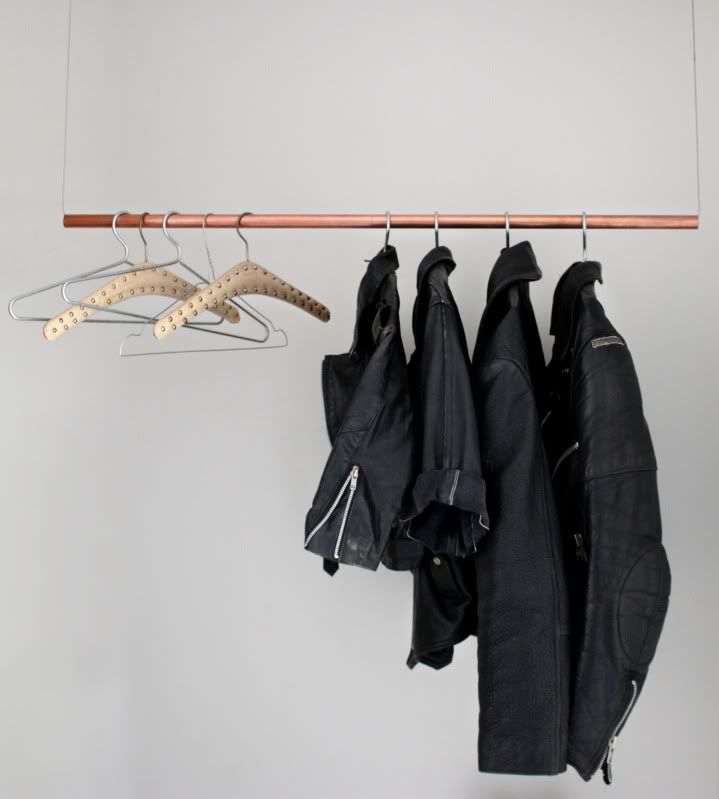
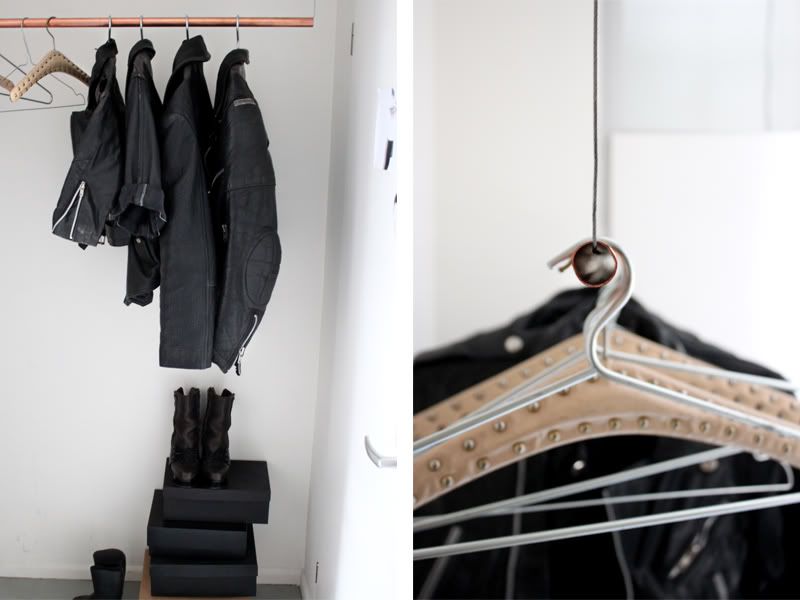
Perhaps you've seen our coat rack in previous posts. It's made with the same principle as the DIY branche clothing rack. Making this one is even easyer. You'll need a tube, two hooks and a metal cable. Put the cable through the tube and hang it onto the ceiling and you're done.

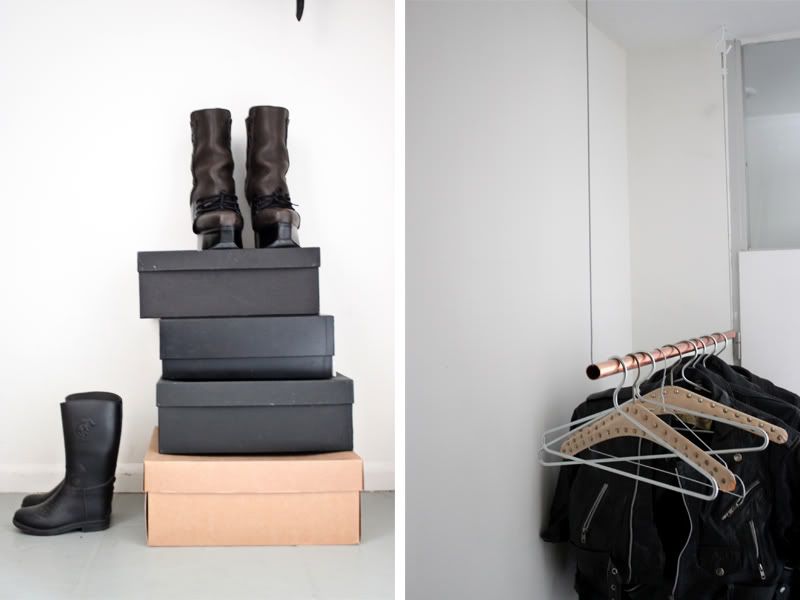
We have this one hanging in our hallway, it's perfect for tiny Dutch homes where every space needs to be used as efficiently as possible; underneath we can put shoes, umbrellas and bags. I like to put different kinds of hangers on it, a couple of leather studded hangers from the 1980's, a few metal ones from IKEA and a couple of very thin ones from metal thread.

Saturday, September 3, 2011

DIY | Burgundy Cut Out Shirt

Photobucket


Photobucket


Cut out shirt seen at Maison Martin Margiela amongst many other labels.

Burgundy seen at Acne, also amongt many others.

I just hopped on the burgundy bandwagon.


Today I found a large silk mens shirt at a vintage shop and decided to cut in it a bit. Though because the shirt was too big the cutouts didn't stay in place and I had to make a few adjustments so they would actually look like two squares. Therefor I wouldn't advise using an oversized shirt for this DIY.

Saturday, August 13, 2011

INTERIOR | DIY All Purpose Lamp

Photobucket


Photobucket


You'll need a plug, a wire, a fitting for your lamp and a large lightbulb. (Be sure to use an energy-efficient lamp which doesn´t get hot.) Connect them and you're done. Even I, so non technical that sometimes I can't even figure out how a printer works, can make this. You can lay this lamp on the table when reading, wrap it around a hook on the wall or carefully tie it around a high piece of furniture.